
Turn your local notes into an interactive knowledge base with these easy steps.
Welcome to this step-by-step guide for setting up Obsidian, Copilot, and Local RAG (retrieval augmented generation) using Ollama. This tutorial will walk you through the process of integrating these powerful tools into your Obsidian note-taking experience to enhance productivity and creativity.
When I started adding my first notes to Obsidian, I never could have imagined that one day I would be able to chat with my notes! Thanks to generative AI, this is now a possibility.
I wrote this step by step tutorial, mainly for myself in case I forget the commands, but maybe it also helps you!
Step 1: Install Obsidian
First, make sure you have Obsidian installed on your computer. You can download it from the official website (https://obsidian.md/) or through your preferred package manager.
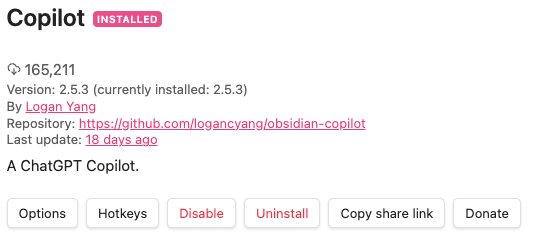
Step 2: Install Copilot
Copilot is an AI-powered tool that provides suggestions for writing and coding in Obsidian. To install Copilot, follow these steps:
- Open the Community Plugins section in Obsidian (Settings > Community Plugins).
- Search for "Copilot" and click on the "Install" button next to the official plugin.
- Once installed, enable the plugin by toggling the switch in the list of installed plugins.
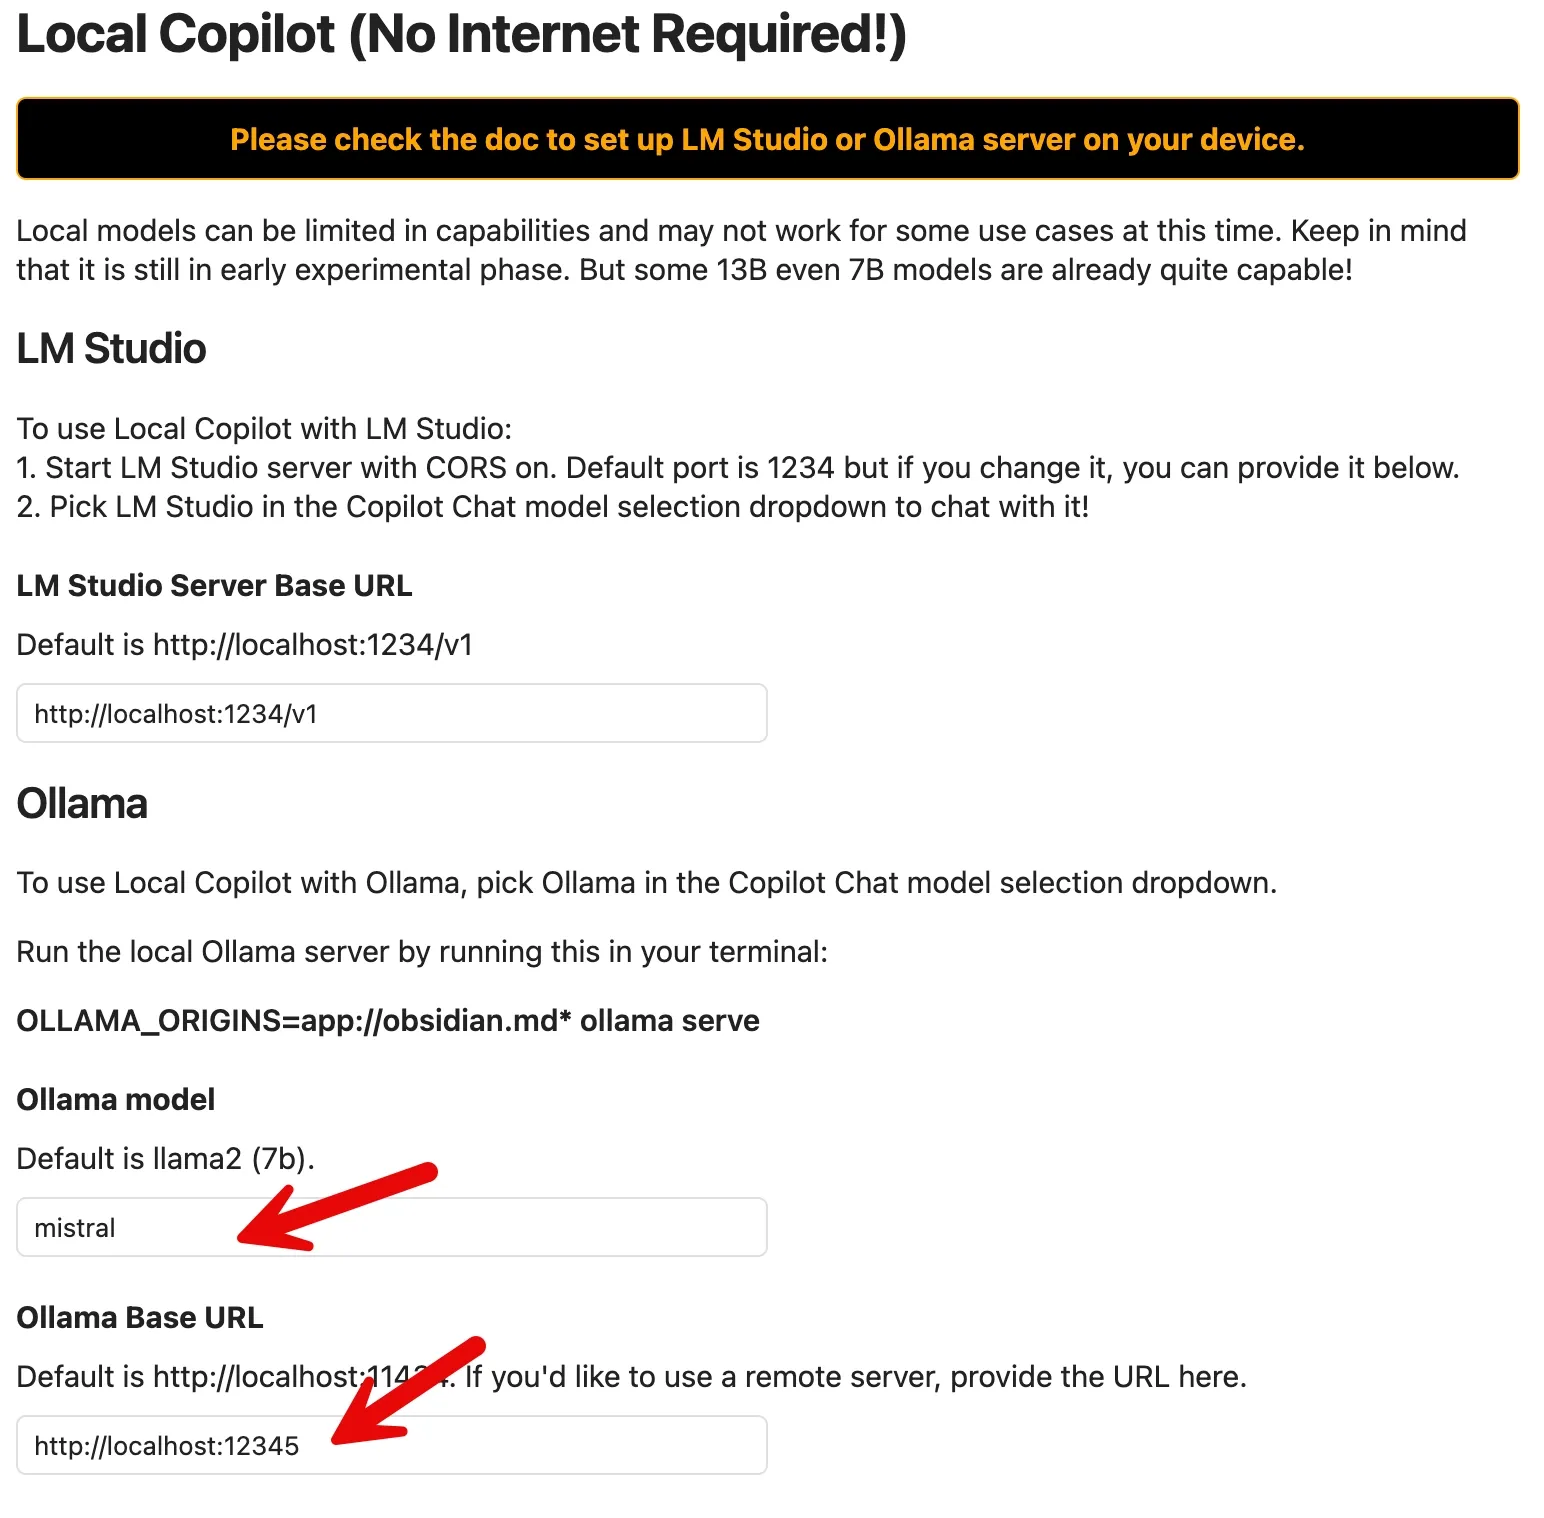
Step 3: Download ollama and the models
Go to https://ollama.ai/, download it and follow the setup instructions.
Get local embedding model
Open a terminal and run the following command:
ollama pull nomic-embed-text
Get your favourite llm
I'm using mistral these days. If you want to follow along, run:
ollama pull mistral
I had to change the default port to get it all to run using:
OLLAMA_HOST=127.0.0.1:12345 OLLAMA_ORIGINS=app://obsidian.md* ollama serve
Tutorial for local copilot can be found here: obsidian-copilot/local_copilot.md at master · logancyang/obsidian-copilot (github.com)
Step 4: Configure Copilot
Adjust the following settings and ignore all the others:
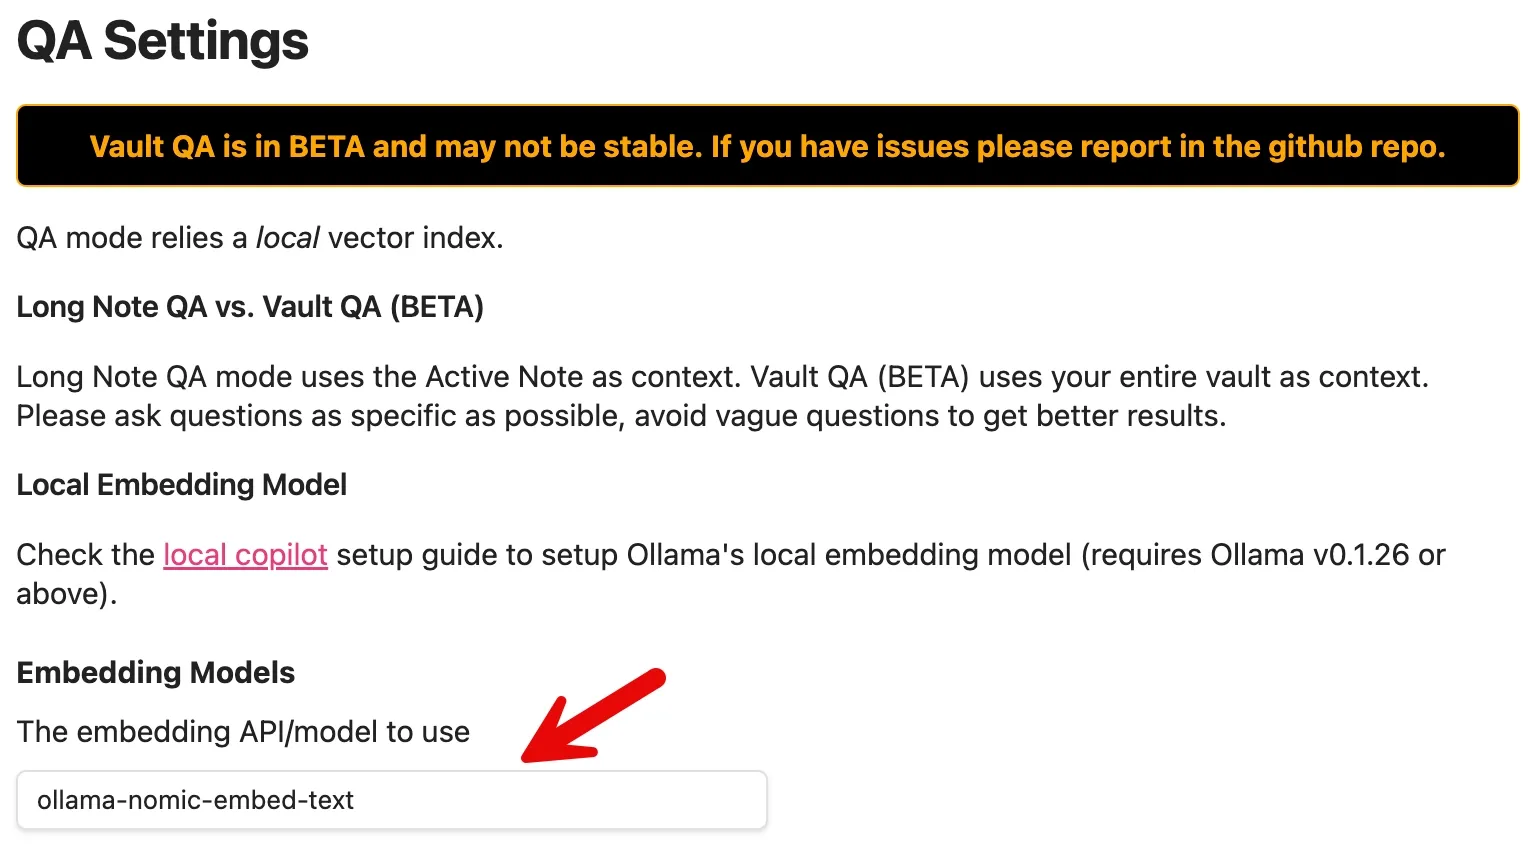
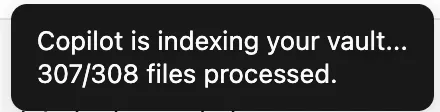
Step 5: Index your vault
As the last step, you can now start copilot chat. I have it setup so it is on the right sidebar.
1: switch to Ollama
2: switch to Vault QA mode
3: index your vault

If everything goes well, you should see something like this:
The Result
You can now chat with your vault! Below you can see an example from my own vault which I use to write my blog posts and articles.
